WordPress模板制作其实非常简单,今天蜗牛博客就带你从零开始制作一个Wordpress模板,只需要花半天的时间,你也可以制作一个你心中理想的Wordpress模板。
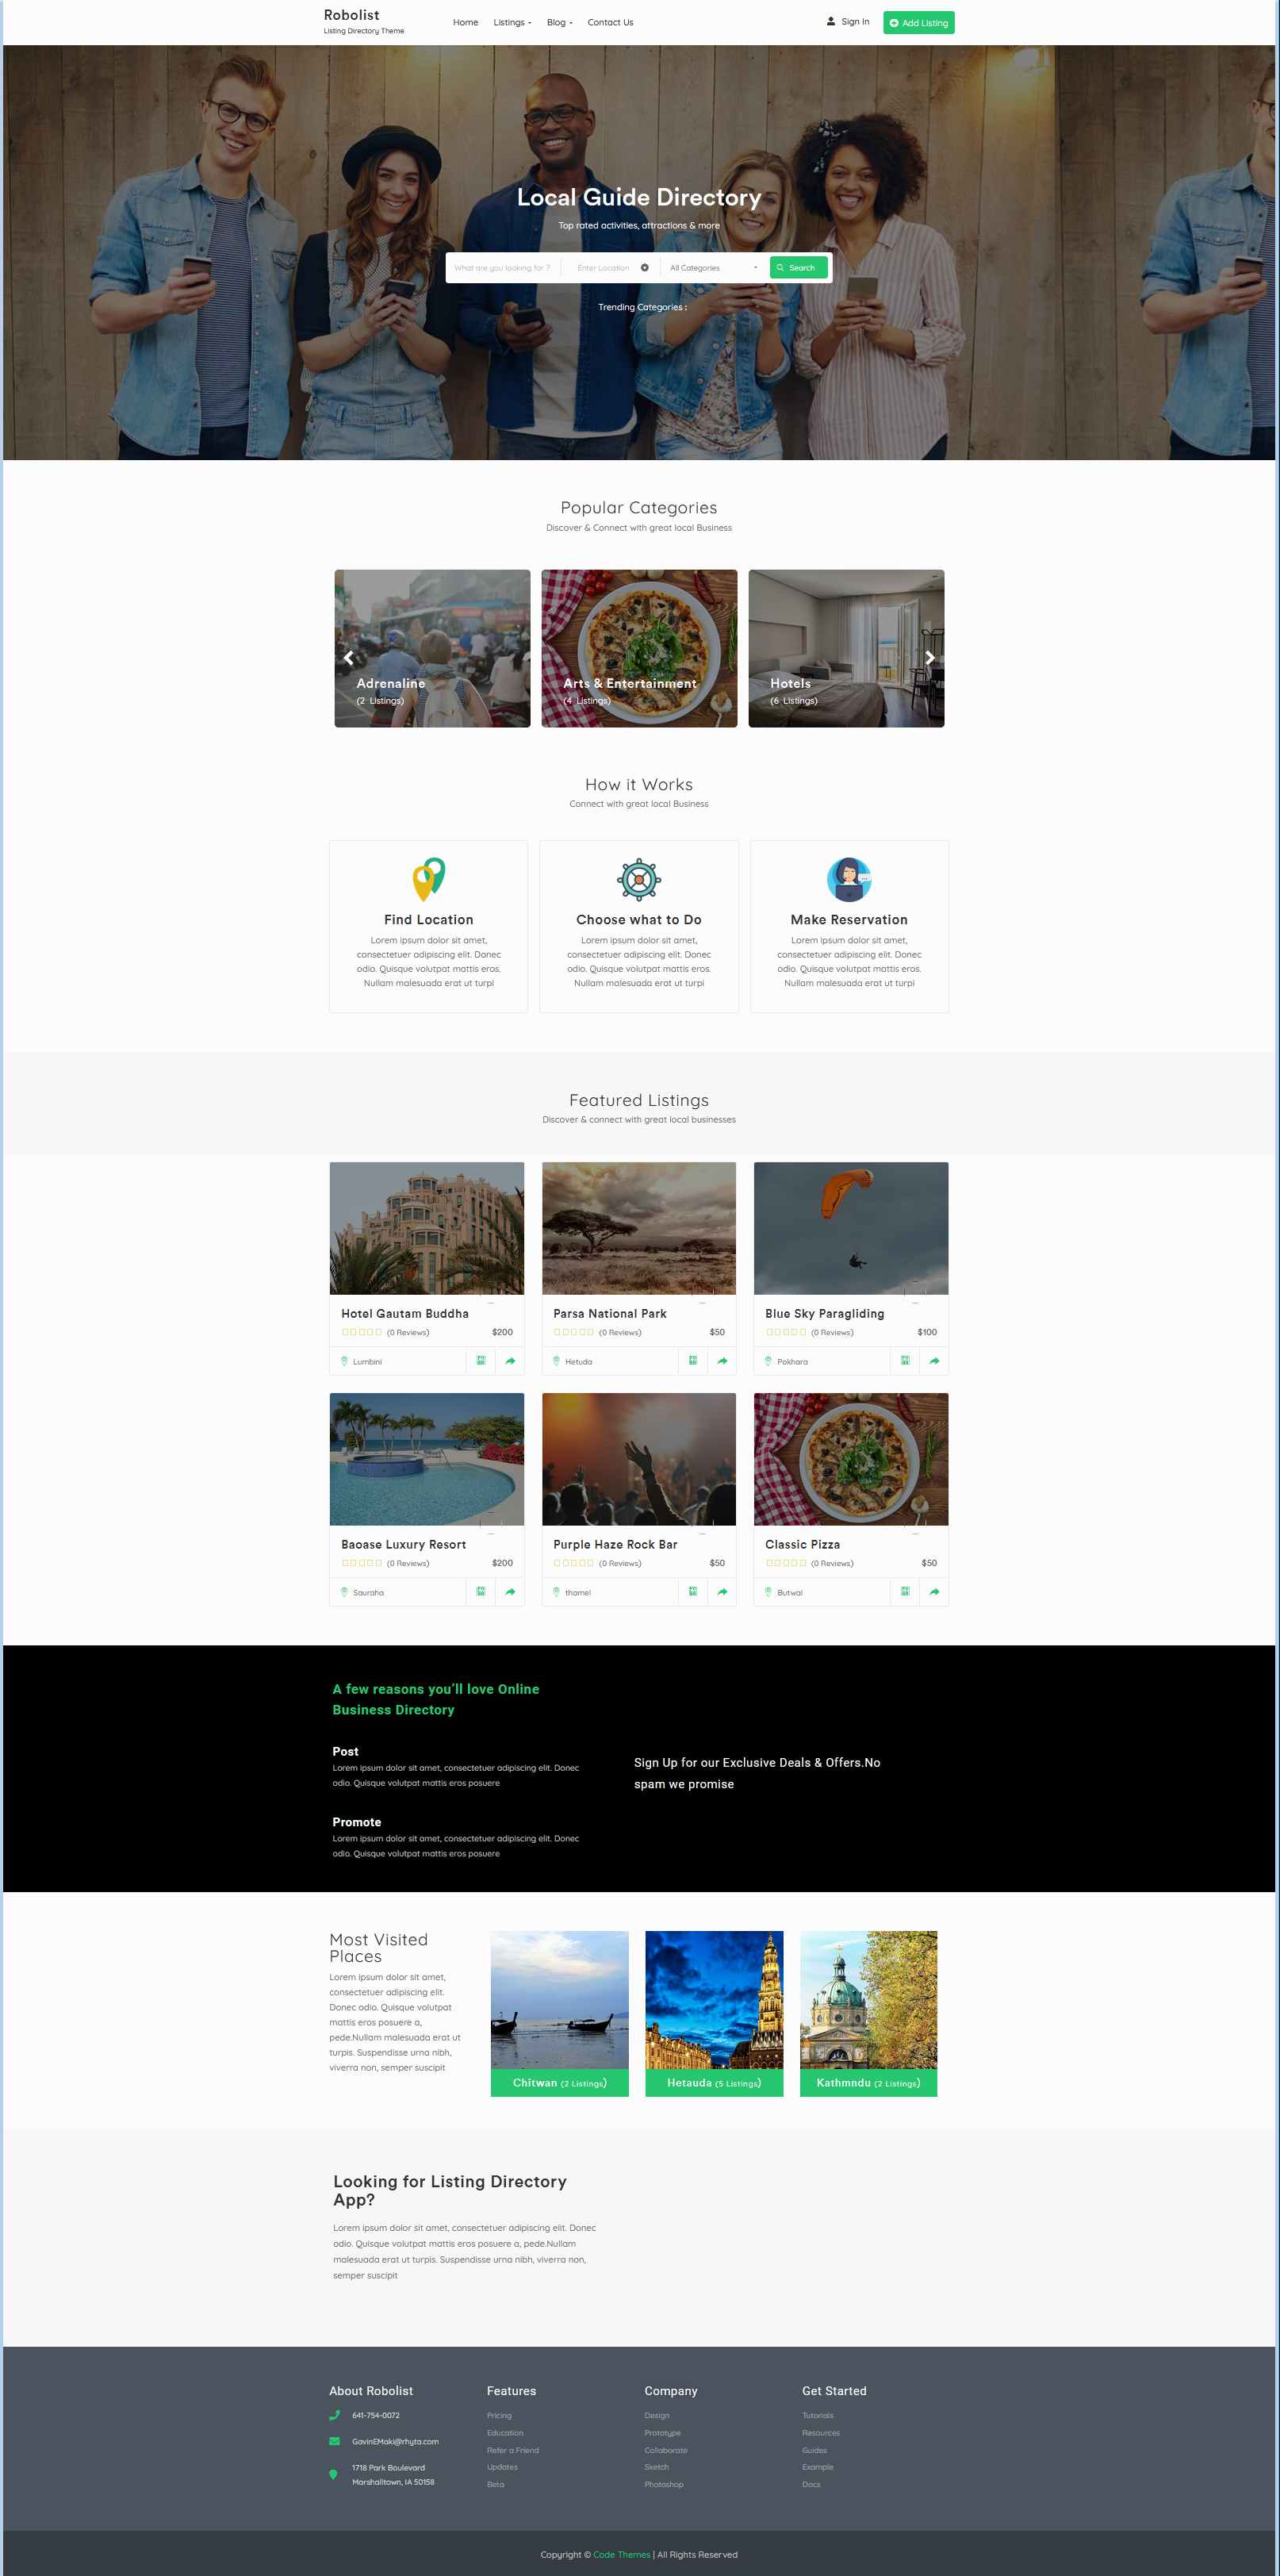
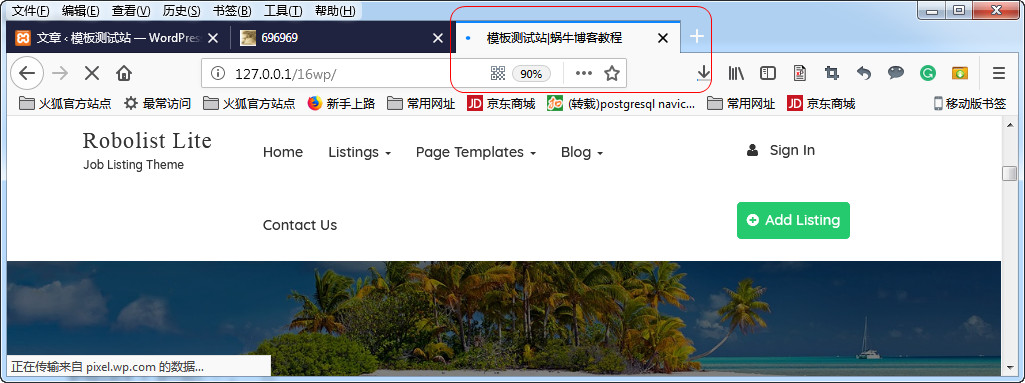
比如,想做一下下面这样的模板。
一、素材
1.下载模板
我们直接以仿站开始吧,首先找到一个你喜欢的网站,比如:http://demo.codethemes.co/robolist-pro/,
然后用仿站工具,将这个网站的模板下载下来。一般我们只需要首页、列表页、详情页三个页面就可以了。
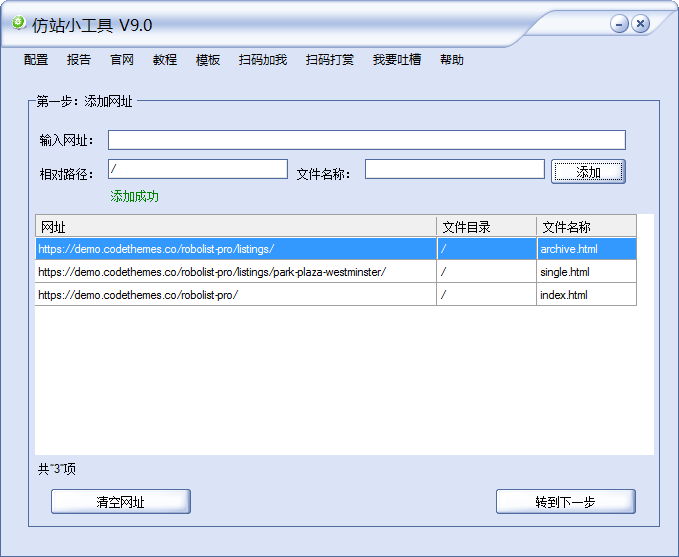
其中的:
index.html wordrpess首页
archive.html wordpress的列表页
single.html wordpressrr的文章详情页。
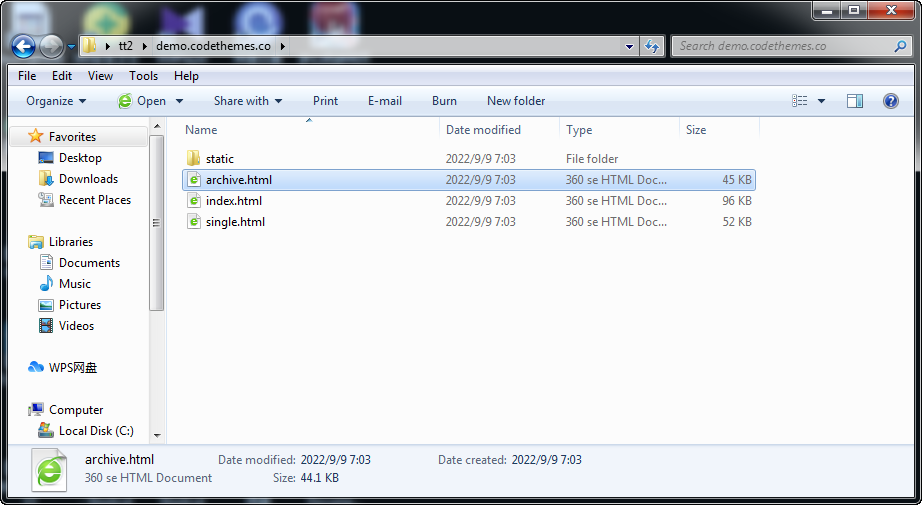
下载后保存到电脑是这样的:
2.整理模板
用notepad或者sublime之类的软件打开模板文件看一下它的代码,如果比较整齐则不用这一步。
如果下载的模板排板上有点乱,需要用html格式化工具进行一些整理,比较好用的有:
http://web.chacuo.net/formathtml/(暂时觉得这个最好用)
https://www.sojson.com/jshtml.html
二、后台显示模板
1.建立模板文件夹
在wordpress后台的theme下面建立一个文件夹Stheme,用来存放你的模板,并将你下载的模板放到这个文件夹下面。
2. index.php
将index.html改成php文件index.php。
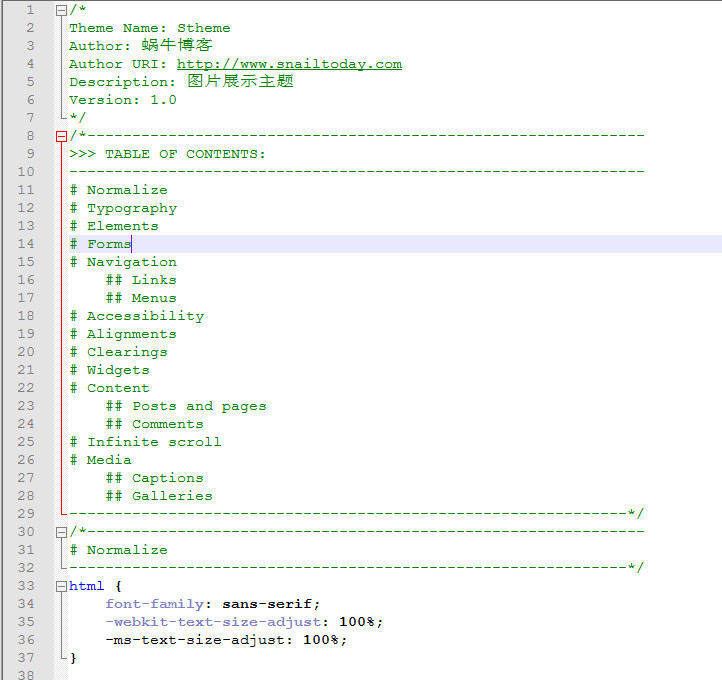
3.style.css
因为我们在第一步下载别人网站的模板的时候,设定了将所有的css文件放到了css文件夹下面,所以style.css也当然存到了css文件夹下面。不过在wordpress的模板中,style.css必须保存在模板的根目录下面,所以我们这里需要将style.css从css文件夹下面移到模板的根目录Stheme下面,即和index.php同一个目录下面。
修改style.css文件,将以下代码放到style.css文件中
4.查看效果
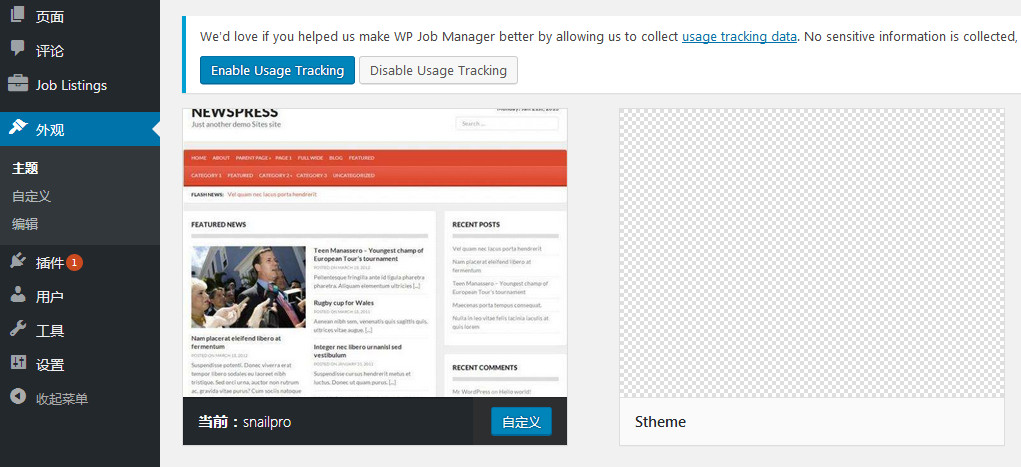
这时登陆后台,可以看到我们的模板已经在后台显示了。不过没有缩略图。
5.缩略图
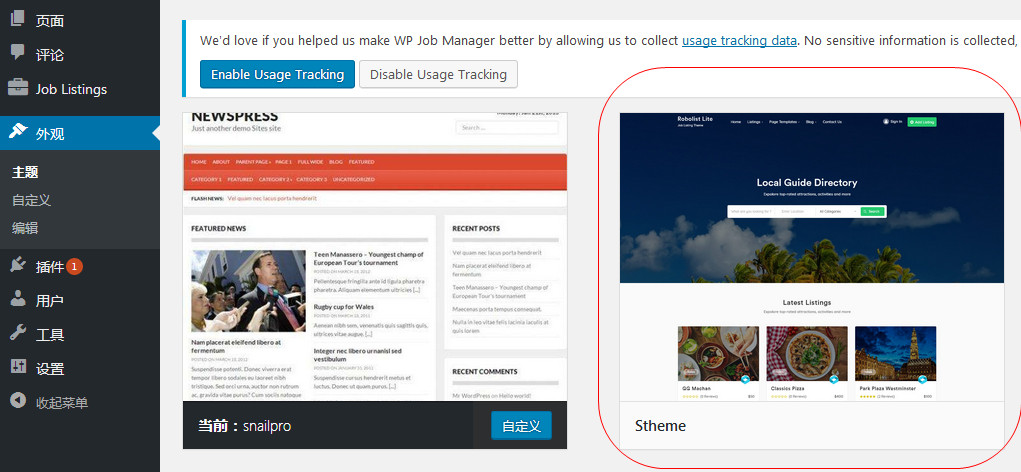
在根目录Stheme下面放上一张图片,命名为screenshot.png(或者jpg),然后就可以看到效果了。
6、启用模板
在wordpress后台启用我们制作的模板,不过发现CSS是乱的。
三、修改style.css
修改style.css文件中的css、js、images文件的路径,直接用替换功能即可。比如:
3 |
<?php echo get_template_directory_uri(); ?>/static/js/ |
关于wordpress的函数,可以看这里:https://developer.wordpress.org/reference/since/5.1.0/
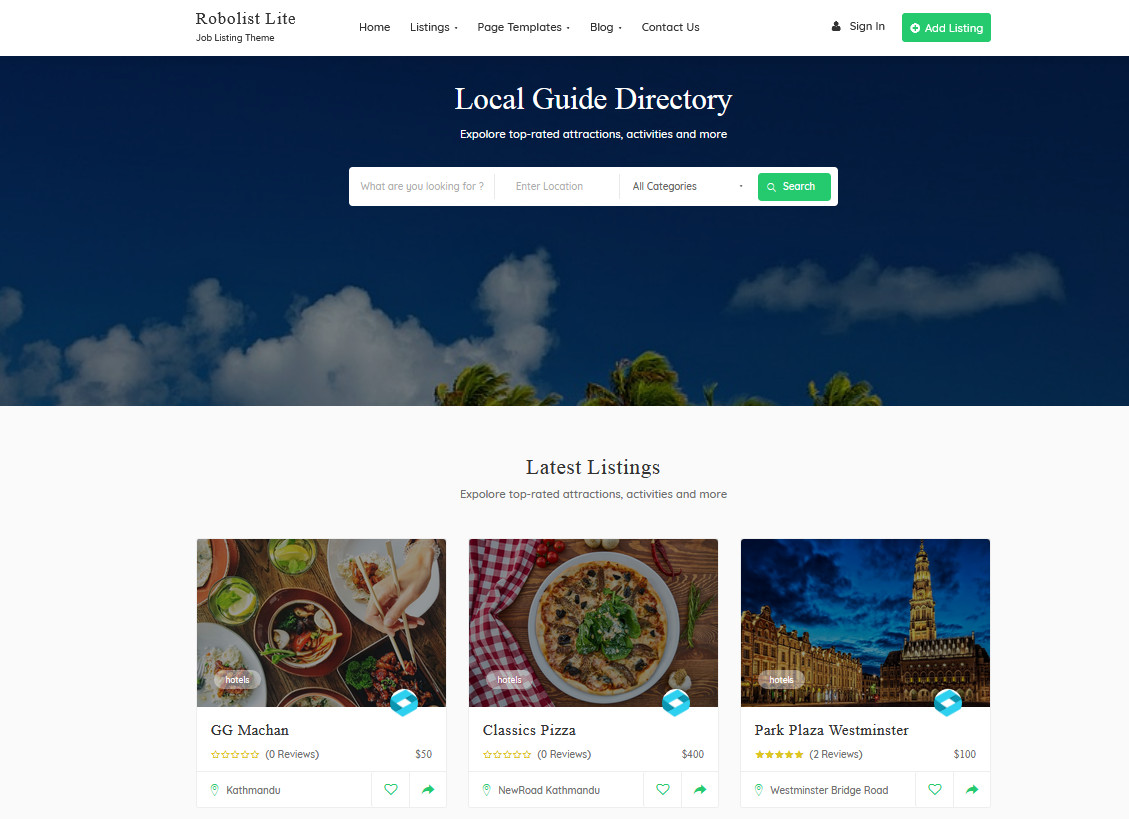
这时再看首页,就发现和目标站一模一样了。
四、首页title
1.在模板根目录新建一个functions.php文件。
2.加入以下代码,用于首页显示站点信息等。
3 |
add_filter('wp_title', 'lingfeng_wp_title', 10, 2); |
4 |
function lingfeng_wp_title($title, $sep) { |
13 |
$title .= get_bloginfo( 'name' ); |
16 |
$site_description = get_bloginfo( 'description', 'display' ); |
17 |
if ( $site_description && ( is_home() || is_front_page() ) ) |
18 |
$title = "$title $sep $site_description"; |
21 |
if ( $paged >= 2 || $page >= 2 ) |
22 |
$title = "$title $sep " . sprintf( '第%s页', max( $paged, $page ) ); |
25 |
$search = array('–', ' '); |
26 |
$replace = array('-', ''); |
27 |
$title = str_replace($search, $replace, $title); |
3.在title的位置添加以下代码:
1 |
<?php wp_title('|',true,'right'); ?> |
4.效果预览
五、站点标题、副标题
代码:
1 |
<?php bloginfo('name'); ?> #标题 |
2 |
<?php bloginfo('description'); ?> #副标题 |
3 |
<?php bloginfo('url'); ?> #设定站点标题的链接到首页。 |
效果预览:

六、search form
在相应位置直接用以下代码:
1 |
<?php get_search_form(); ?> |
如果模板文件下面没有searchform.php文件,则wordpress调用默认的表单。
如果有,则将searchform.php文件显示在搜索表单的位置。
修改搜索框的样式:
可以自己设计一个函数,持到get_search_form这个函数上面。
1 |
function my_search_form( $form ) { |
3 |
$form = '<form role="search" method="get" id="searchform" action="' . home_url( '/' ) . '" > |
4 |
<div><label class="screen-reader-text" for="s">' . __('Search for:') . '</label> |
5 |
<input type="text" value="' . get_search_query() . '" name="s" id="s" /> |
6 |
<input type="submit" id="searchsubmit" value="'. esc_attr__('Search') .'" /> |
13 |
add_filter( 'get_search_form', 'my_search_form' ); |
经测试这种方法还没有过时,可以参考:https://ninghao.net/video/703
七、首页文章
1.删除多余的代码,只留下第一行的第一张图片。
2.主循环
代码:
1 |
<?php if( have_posts() ) : while( have_posts() ) : the_post(); ?> |
效果:
3.显示文章标题、缩略图
缩略图代码在这里。
1 |
<?php the_title(); ?> #显示文章标题 |
2 |
<?php the_permalink(); ?> #文章的网址 |
3 |
<?php echo get_content_first_image(get_the_content()); ?> #缩略图地 |
4 |
<?php the_content(); ?> #显示文章内容 |
5 |
<?php the_category('.'); ?> #显示文章分类 |
6 |
<?php the_time('Y年m月d日 H:i:s'); ?> #显示发布时间 |
7 |
<?php comments_popup_link('0','1','%');?> #显示评论的条目 |
8 |
<?php the_tags('<strong>标签:</strong> ', ' , ' , ''); ?> #显示文章标签 |
标签可以参考:http://www.1mayi.com/1224.html
另外,这套模板有个问题,如果某文章的标题太长,则排版会乱掉。所以需要对文章标题进行截取处理,代码如下:
2 |
$title = get_the_title(); |
3 |
$trimmed_title = wp_trim_words( $title, 20, '...' ); |
上面的是按字数来显示,如果是英文是按单词数来显示,如果要按英文字母的长度来显示,就用下面这个:
1 |
<?php echo mb_strimwidth(get_the_title(), 0, 20, '...'); ?> |
参考:https://stackoverflow.com/questions/24636136/how-do-i-show-when-the-wordpress-title-exceeds-length
woocommerce产品列表中标题长度的修改方法:
在function.php中加入以下代码
1 |
add_filter( 'the_title', 'shorten_woo_product_title', 10, 2 ); |
2 |
function shorten_woo_product_title( $title, $id ) { |
3 |
if ( ! is_singular( array( 'product' ) ) && get_post_type( $id ) === 'product' ) { |
4 |
return substr( $title, 0, 45); |
4.显示文章内容
3 |
echo wp_trim_words( get_the_title(),50); |
5 |
echo wp_trim_words( get_the_excerpt(),100); |
7 |
echo wp_trim_words( get_the_content(),500); |
自编代码:
1 |
<?php the_content(); ?> #显示文章内容 |
2 |
<?php echo lingfeng_strimwidth(get_the_content(),190); ?> #截取190个字符。 |
但是p元素会换行。
截取字符串的长度:
1 |
function lingfeng_strimwidth( $str, $len, $start = 0, $suffix = '……' ) { |
2 |
$str = str_replace(array(' ', ' ',' ', 'rn'), '', strip_tags( $str )); |
3 |
if ( $len>mb_strlen( $str ) ) { |
4 |
return mb_substr( $str, $start, $len ); |
6 |
return mb_substr($str, $start, $len) . $suffix; |
5.文章浏览次数
Updated on 2021:
这个最好用WP-PostViews插件,这样可以轻松实现“浏览次数最多的10篇文章这样的功能。”
5 |
function getPostViews( $postID ) { |
6 |
$count_key = 'post_views_count'; |
7 |
$count = get_post_meta( $postID, $count_key, true ); |
9 |
delete_post_meta( $postID, $count_key ); |
10 |
add_post_meta( $postID, $count_key, '0' ); |
21 |
function setPostViews( $postID ) { |
22 |
$count_key = 'post_views_count'; |
23 |
$count = get_post_meta( $postID, $count_key, true ); |
26 |
delete_post_meta( $postID, $count_key ); |
27 |
add_post_meta( $postID, $count_key, '0' ); |
30 |
update_post_meta( $postID, $count_key, $count ); |
显示文章浏览次数。
1 |
<?php setPostViews(get_the_ID()); ?> #这行代码也不能少 |
2 |
<?php echo getPostViews(get_the_ID()); ?> |
6.显示标签
the_tags的三个参数,前后是前后显示的字符,中间是分隔符号。
2 |
<?php the_tags('',',','');?> |
7.文章分页
分页函数,注意:如果显示的间隔太短,可以直接用空格来填充。
8 |
function lingfeng_pagenavi( $range = 4 ) { |
9 |
global $paged,$wp_query; |
11 |
$max_page = $wp_query->max_num_pages; |
14 |
echo "<div class='fenye'>"; |
19 |
echo "<a href='".get_pagenum_link(1) ."' class='extend' title='跳转到首页'>首页 </a>"; |
21 |
previous_posts_link('上一页 '); |
22 |
if ( $max_page >$range ) { |
23 |
if( $paged <$range ) { |
24 |
for( $i = 1; $i <= ($range +1); $i++ ) { |
25 |
echo "<a href='".get_pagenum_link($i) ."'"; |
26 |
if($i==$paged) echo " class='current'";echo ">$i </a>"; |
28 |
}elseif($paged >= ($max_page -ceil(($range/2)))){ |
29 |
for($i = $max_page -$range;$i <= $max_page;$i++){ |
30 |
echo "<a href='".get_pagenum_link($i) ."'"; |
31 |
if($i==$paged)echo " class='current'";echo ">$i</a>"; |
33 |
}elseif($paged >= $range &&$paged <($max_page -ceil(($range/2)))){ |
34 |
for($i = ($paged -ceil($range/2));$i <= ($paged +ceil(($range/2)));$i++){ |
35 |
echo "<a href='".get_pagenum_link($i) ."'";if($i==$paged) echo " class='current'";echo ">$i</a>"; |
39 |
for($i = 1;$i <= $max_page;$i++){ |
40 |
echo "<a href='".get_pagenum_link($i) ."'"; |
41 |
if($i==$paged)echo " class='current'";echo ">$i</a>"; |
44 |
next_posts_link('下一页 '); |
45 |
if($paged != $max_page){ |
46 |
echo "<a href='".get_pagenum_link($max_page) ."' class='extend' title='跳转到最后一页'>尾页</a>"; |
48 |
echo '<span>共['.$max_page.']页</span>'; |
在engif之前调用。
2 |
<?php lingfeng_pagenavi(); ?> |
备注:
如果加入代码没有显示,可能你的文章数量太少了,需要在WordPress后台【常规】→【阅读】选项中,将“博客页面至多显示XX篇文章”设置为1,然后即可看到分页。
样式
10 |
_border: solid 1px #ccc; |
15 |
padding:4px 6px 4px 6px; |
17 |
border:1px solid #aaa; |
另外,还可以使用分页插件。
bootstrap分页
1 |
function snail_paging() { |
3 |
if ( is_singular() ) return; |
4 |
global $wp_query, $paged; |
5 |
$max_page = $wp_query->max_num_pages; |
6 |
if ( $max_page == 1 ) return; |
7 |
echo '<ul class="pagination">'; |
8 |
if ( empty( $paged ) ) $paged = 1; |
10 |
if ( $paged > 1 ) p_link( 1, '首页' ); |
11 |
echo '<li class="prev-page">'; previous_posts_link('上一页'); echo '</li>'; |
14 |
for( $i = $paged - $p; $i <= $paged + $p; $i++ ) { |
15 |
if ( $i > 0 && $i <= $max_page ) $i == $paged ? print "<li class="active"><span>{$i}</span></li>" : p_link( $i ); |
19 |
echo '<li class="next-page">'; next_posts_link('下一页'); echo '</li>'; |
20 |
p_link( $max_page, '尾页' ); |
25 |
function p_link( $i, $title = '' ) { |
26 |
if ( $title == '' ) $title = "{$i}"; |
27 |
echo "<li><a href='", esc_html( get_pagenum_link( $i ) ), "'>{$title}</a></li>"; |
30 |
function p_curr_link( $i) { |
31 |
echo '<li><span class="active">'.$i.'</span></li>'; |
八、文章分类页
分类页的模板名为archive.php,因为一般分类页也是文章列表,参照首页做就可以了。
就用:
1 |
<?php if( have_posts() ) : while( have_posts() ) : the_post(); ?> |
页面显示分类的名称:
1 |
<?php $thiscat = get_category($cat); echo $thiscat ->name;?> |
代码二
2 |
foreach((get_the_category()) as $category) |
4 |
echo $category->cat_name; |
参考:https://www.admin122.com/blog/3432.html
九、实现相关文章的方法
代码测试可用
4 |
$cats = wp_get_post_categories($post->ID); |
7 |
'category__in' => array( $cats[0] ), |
8 |
'post__not_in' => array( $post->ID ), |
10 |
'caller_get_posts' => 1 |
15 |
while (have_posts()) : the_post(); update_post_caches($posts); ?> |
16 |
<li>* <a href="<?php the_permalink(); ?>" rel="bookmark" title="<?php the_title_attribute(); ?>"><?php the_title(); ?></a></li> |
17 |
<?php endwhile; else : ?> |
19 |
<?php endif; wp_reset_query(); } ?> |
2.根据标签查找相关文章,并显示文章摘要
4 |
$post_tags = wp_get_post_tags($post->ID); |
7 |
foreach ($post_tags as $tag) |
10 |
$tag_list[] .= $tag->term_id; |
14 |
$post_tag = $tag_list[ mt_rand(0, count($tag_list) - 1) ]; |
18 |
'tag__in' => array($post_tag), |
19 |
'category__not_in' => array(NULL), |
20 |
'post__not_in' => array($post->ID), |
22 |
'caller_get_posts' => 1 |
27 |
while (have_posts()) : the_post(); update_post_caches($posts); ?> |
28 |
<li>* <a href="<?php the_permalink(); ?>" rel="bookmark" title="<?php the_title_attribute(); ?>"><?php the_title(); ?></a></li> |
29 |
<p style="color: rgba(0, 0, 0, 0.32);margin-bottom: 8px;"> |
30 |
<?php echo wp_trim_words( get_the_content(),160);?> |
32 |
<?php endwhile; else : ?> |
34 |
<?php endif; wp_reset_query(); } ?> |
参考:https://blog.csdn.net/weixin_33834910/article/details/91869215
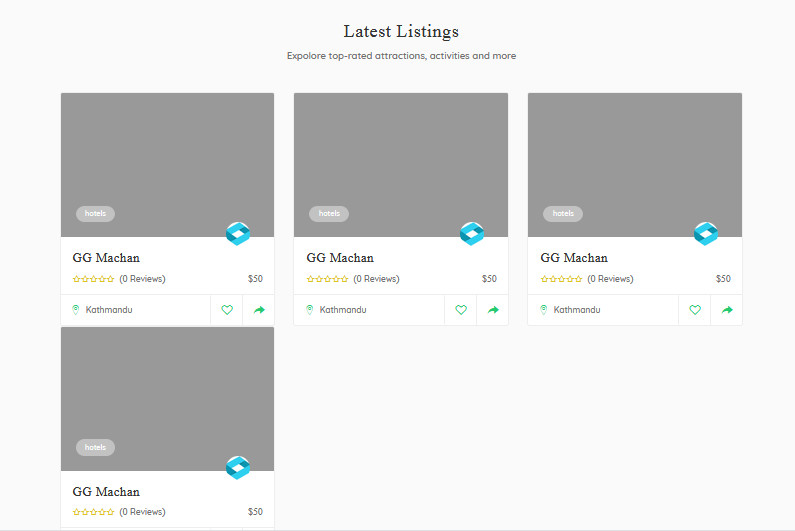
十、首页显示最新的文件及缩略图
最简单的代码
1 |
<?php get_archives("postbypost", 10); ?> |
代码二:
1 |
<?php query_posts("showposts=3&cat=1")?> |
2 |
<?php while (have_posts()) : the_post(); ?> |
3 |
<?php if ( get_post_meta($post->ID, ‘pre_image’, true) ) : ?> |
4 |
<?php $image = get_post_meta($post->ID, ‘pre_image’, true); ?> |
5 |
<a href=”<?php the_permalink() ?>”><img alt=”<?php the_title(); ?>” src=”<?php echo $image; ?>”></a> |
7 |
<a href=”<?php the_permalink() ?>”><img alt=”<?php the_title(); ?>” src=”<?php bloginfo(‘template_url’); ?>/files/wp30a.png”></a> |
9 |
<h3><a title=”#” href=”<?php the_permalink() ?>”><?php the_title(); ?></a></h3> |
10 |
<p><?php the_excerpt(); ?>…</p> |
简化版本:
不过这个有时和文章详情页的代码有冲突,会导致文章详情页显示多篇文章的内容。
1 |
<?php query_posts("showposts=3&cat=1")?> |
2 |
<?php while (have_posts()): the_post(); ?> |
3 |
<h3><a title="#"" href="<?php the_permalink() ?>"><?php the_title(); ?></a></h3> |
参考:
https://blog.csdn.net/cloudday/article/details/7276330
另外,发现没有设定文章的摘要,使用the_excerpt()也可以取到值,查了一下,原来:
如果在文章中没有编辑内容摘要字段,则默认截取文章的前55个字的内容
参考:http://www.xuxiaoke.com/wpfunc/131.html